

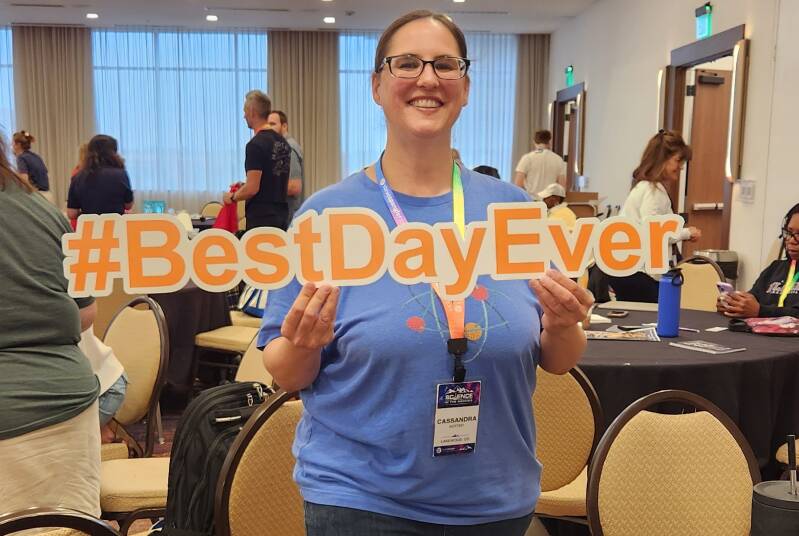
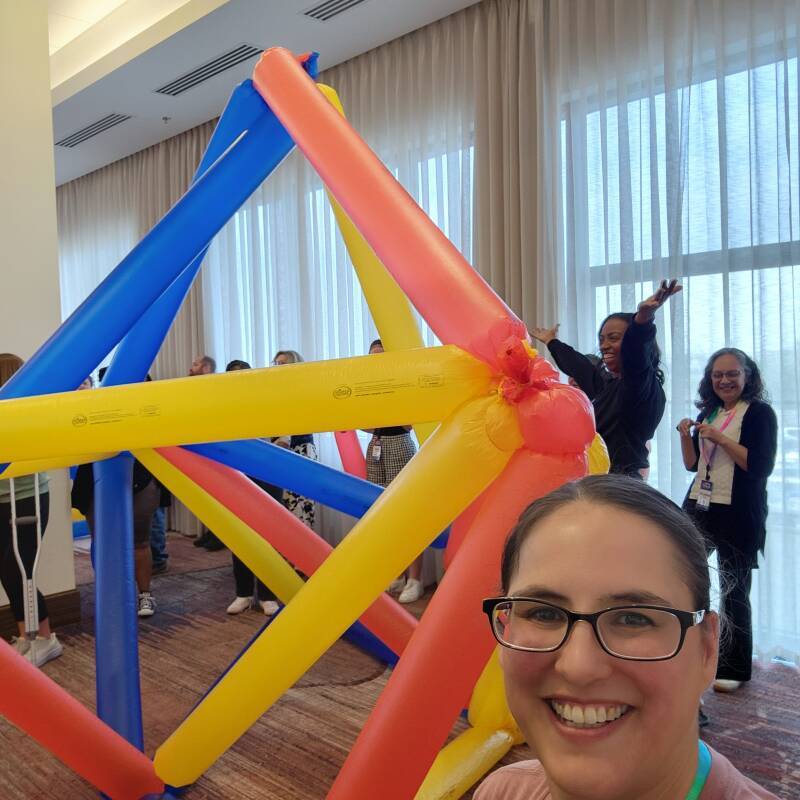
This summer, I had the opportunity to attend Steve Spangler’s Science in the Rockies conference. It’s an event I’ve wanted to attend for years, and it did not disappoint. We spent several days learning how to use exciting and surprising demonstrations to get students engaged in science. I seriously had so much fun doing science experiments with 200 science educators from across the country!I highly reccommend attending this if you can!
It was an invaluable reminder that presentation matters. The way we introduce an activity, build anticipation, and invite students into the experience can determine whether they see science as another school subject or something they genuinely want to understand. A dramatic color change or sudden burst of foam can capture the attention of an entire room in seconds. But the experience also left me thinking about what happens after the “wow.”
The demonstration is just the beginning
I began thinking seriously about this distinction long before attending Science in the Rockies. While working with the UCD Chemistry Club way back in 2001, I helped present chemistry demonstrations for students. They were colorful, dramatic, and very good at generating a “wow.” But sometimes I left wondering how much science our audiences actually understood. Students might remember the burst of foam or surprising color change, but not the concept behind it.
Those demonstrations accomplished something important: they made students pay attention and helped them see chemistry as interesting rather than intimidating. What I began to recognize was that engagement needed somewhere to go. That realization inspired me to create Pogona Peak Education. I wanted to preserve the excitement that draws children into science while giving educators more support for what comes next. How can we help students move from watching science happen to gathering evidence, testing ideas, and explaining what they discover?
There is no shortage of flashy science online. TikTok, Instagram, and YouTube are filled with giant eruptions, instant color changes, exploding containers, and substances that glow, stretch, smoke, or appear to defy gravity. These demonstrations can interrupt students’ expectations, generate questions, introduce a phenomenon, and make science feel exciting and accessible. But a student can be captivated by an eruption and still leave without understanding why it happened because engagement and learning are not the same thing.
That doesn’t mean we should stop doing exciting demonstrations. It means we need to use the attention they generate. The surprising result gets students to look and what we do next helps them learn. With that goal in mind, here are several ways to move an activity from an exciting demonstration toward a meaningful student investigation.

Let students experience the phenomenon
It is tempting to explain a demonstration before performing it. We introduce the vocabulary, describe the concept, and tell students what they are about to observe. But if the goal is to build curiosity, consider letting them experience the phenomenon before giving them the complete explanation. Show them the color change. Let them watch the balloon inflate. Display the object that behaves differently from what they expected. Then pause.
Ask students what they observed before asking them to explain why it happened. Encourage them to describe what they could see, hear, feel, or measure. Instead of immediately asking, “Why did that happen?” begin with questions that help students look more carefully. What changed? What stayed the same? How quickly did it happen? Was there a change in temperature, sound, color, odor, or size?
Use the scientific explanation as a starting point for inquiry
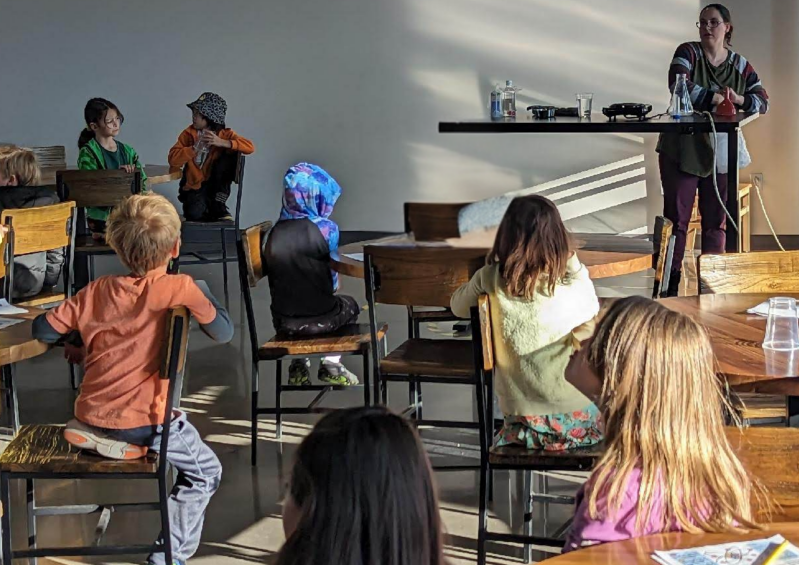
After students have observed the demonstration, give them time to discuss what they noticed and why they think it happened. They can talk with a partner, compare ideas in a small group, or work through their explanations as a class.
This discussion allows students to draw on their existing knowledge and gives you a chance to hear how they are interpreting the phenomenon. It also makes the scientific explanation more meaningful because students have already identified the questions and observations the explanation needs to address.
Once students have shared what they noticed, ask what they wonder. Would the result change with more of one ingredient? Does temperature matter? Would another material behave the same way? These questions provide the bridge from demonstration to investigation.
After considering what they notice and wonder, explain the scientific concept behind the demonstration. Students need enough background knowledge to interpret the phenomenon and design an investigation that makes scientific sense.
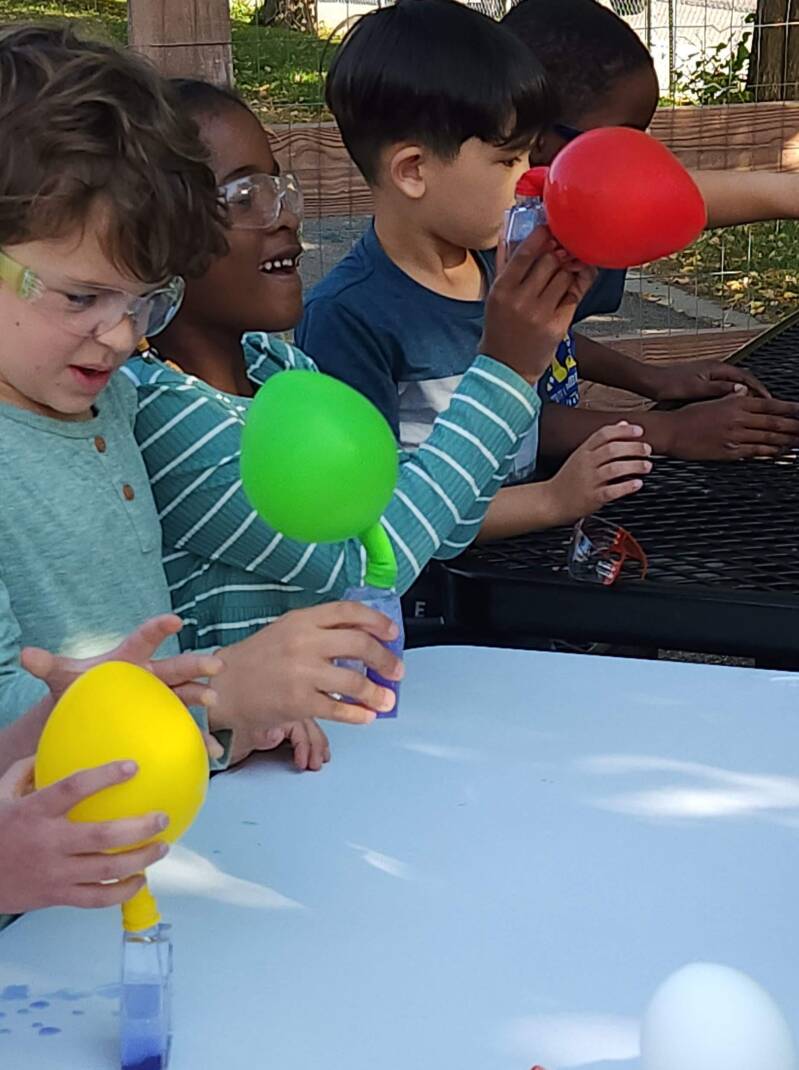
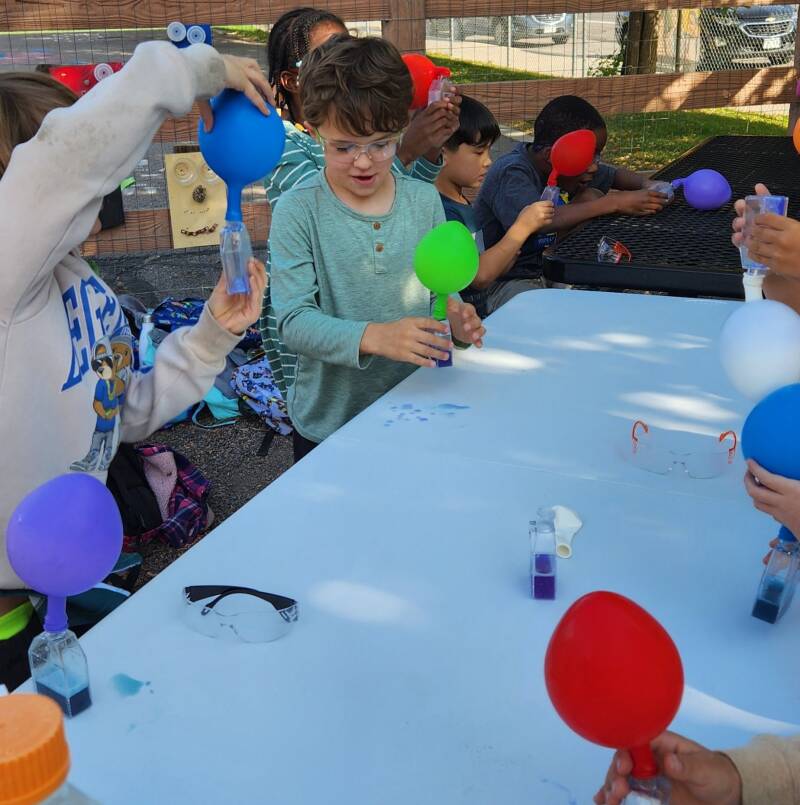
For example, after using baking soda and vinegar to inflate a balloon, I would explain that the reaction produces carbon dioxide gas. The gas takes up space and moves into the balloon, causing it to expand. Depending on the students’ age and our learning goal, we might also discuss evidence of a chemical reaction, conservation of matter, or reaction rates.
Once students have that foundation, the explanation becomes the starting point for inquiry rather than the end of the lesson. Students can use their new understanding to decide what they want to test. They might ask if changing the amount of baking soda affect how large the balloon becomes, if the temperature of the vinegar affects how quickly the balloon inflates, or which combination produces the greatest volume of gas. A useful structure for developing a testable question is: How does changing ______affect ______? It moves students to a question that can guide an investigation while introducing the idea of variables that students can change intentionally or observe and measure.
Form a hypothesis that includes reasoning
Once students have a testable question, ask them to predict what they think will happen. A hypothesis records what students currently think based on their knowledge and experiences. The purpose of an investigation is not to prove the hypothesis correct. It is to collect evidence that helps students evaluate it. When students believe that a successful experiment must prove them right, unexpected results feel like failure. In real science, an unsupported hypothesis can be just as informative as a supported one.
Change one variable intentionally
A fun demonstration often invites students to change several things and see what happens. But to identify what caused a result, they need to make a fair comparison. If students are testing how the amount of baking soda affects balloon size, they should change only the baking soda while keeping the vinegar, bottle, balloon, and measuring time consistent.
Rather than beginning with vocabulary, ask: What are we changing? What are we measuring? What needs to stay the same? Students can then connect these ideas to the terms independent, dependent, and controlled variables.
Decide what evidence to collect
Students often describe one result as “better,” “bigger,” or “faster.” Those words are useful starting points, but they are not precise enough to support a scientific conclusion. What does bigger mean? What does faster mean? How will students decide which trial produced more? If students are comparing balloon inflation, they might measure each balloon’s circumference with string or measure how long it takes to reach a particular size. The measurement does not need to be complicated. It only needs to connect directly to the question.
Depending on their age, students might record numbers, written observations, labeled drawings, or photographs. Younger children can compare results using descriptive language or by drawing pictures. Older students can organize measurements in a data table and graph the results. The important shift is from “Look what happened!” to “What evidence can we collect about what happened?”
Repeat the test
One trial can produce an interesting result, but not necessarily reliable evidence. Materials vary, measurements are imperfect, balloons stretch differently, and someone will inevitably start the timer late. Repeating each condition allows students to see whether a result is consistent or whether one trial may have been unusual. It also introduces a realistic view of scientific data. Results are not always identical, even when we follow the same procedure.
This is where doing experiments in a classroom setting becomes really handy as each student or group of students can be a replicate so there is not always a need to repeat the experiment to get replicates. Students can compare trials, look for patterns, and discuss possible sources of variation. Instead of hiding messy data, help them make sense of it.

Use the results to make a claim
After the excitement is over, it can be tempting to rush through the conclusion. This is where I often struggle as my class periods are short and I tend to run out of time. Sometimes I have to carry the analysis portion over into the next session, but this is where students connect their evidence to the original question. Ask them to make a claim, identify the evidence supporting it, and explain why that evidence matters.
If a student claims that “Increasing the amount of baking soda increased the balloon’s circumference until we reached three teaspoons. Adding more than three teaspoons did not make the balloon larger” they would support that claim with their measurements and consider why the pattern occurred. Perhaps the vinegar became the limiting ingredient, so adding more baking soda could no longer produce additional gas.
This is much richer than concluding, “Our hypothesis was correct.” It also creates new questions. What would happen if the amount of vinegar increased? Would a different concentration produce the same pattern? How accurately does balloon circumference represent gas volume?
Return to the scientific concept
Hands-on does not automatically mean minds-on. After students analyze their evidence, return to the science behind what they observed. In the baking soda and vinegar activity, students are not simply learning how to inflate a balloon without blowing into it. They are observing evidence of a chemical reaction that produces new substances, including carbon dioxide gas. Ask yourself what you want students to understand after the excitement is over and make sure to reiterate it.

The “wow” still matters
We don’t need to turn every two-minute demonstration into a multi-day investigation. Sometimes a demonstration sparks curiosity, helps students visualize an abstract idea, or simply creates a memorable shared experience. Those are all legitimate purposes. Choose strategic opportunities to go deeper.
Science in the Rockies reinforced that excitement, storytelling, surprise, and a teacher’s enthusiasm all matter. Engagement creates the conditions in which students are willing to pay attention, take risks, ask questions, and persist when an idea becomes difficult.
But the most powerful science lessons do not end with “Wow!” They continue with:
“What did you notice?”
“Why do you think that happened?”
“How could we test that idea?”
“What evidence would we need?”
“What should we try next?”
That’s how we use a memorable demonstration to do more than entertain. We use the excitement to invite students into the actual work of science by observing carefully, asking testable questions, gathering evidence, revising explanations, and continuing to investigate.
Ready to Move from “Wow!” to “Why?”
I created a FREE printable Demonstration-to-Investigation Teacher Guide to help you put these ideas into practice. The guided planning pages will help you decide whether a demonstration is suited to further investigation, clarify the scientific learning goal, anticipate student thinking, develop a testable question, plan a fair comparison, and decide what evidence students should collect. Use the entire guide to build a complete inquiry lesson, or choose only the pages that fit your students, available time, and instructional goals.
