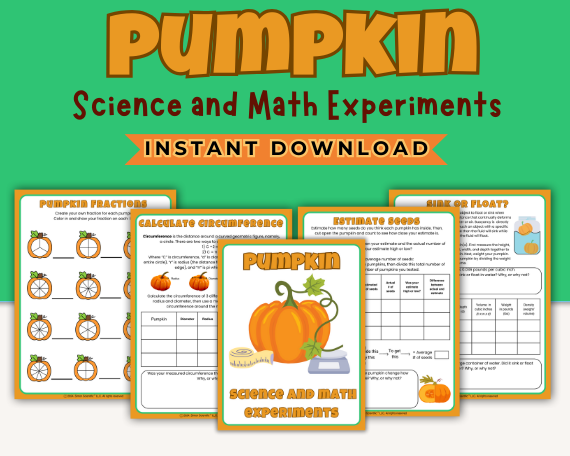

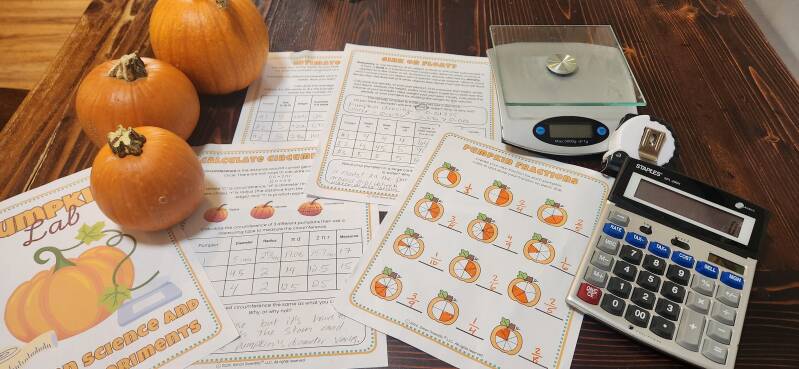
Fall is one of my favorite seasons to teach science. There are so many opportunities to bring seasonal activities into the classroom and my students always love a festive theme. I have a few other blog posts on different spooky science themed experiments but I also wanted to share a few fun pumpkin-themed activities that my students love in September-November. This was inspired by a very fruitful year in our school garden pumpkin patch.
A pumpkin brings plenty of questions to the classroom or kitchen table. With a few everyday supplies, those questions become opportunities to predict, measure, count, compare, and explain. Here are a few pumpkin activities to encourage curious thinking this fall.

Start with observations and questions
Before measuring or cutting anything, give students time to examine their pumpkins. What do they notice about the shape, color, texture, and stem? What differences do they see between pumpkins?
Measure around the pumpkin
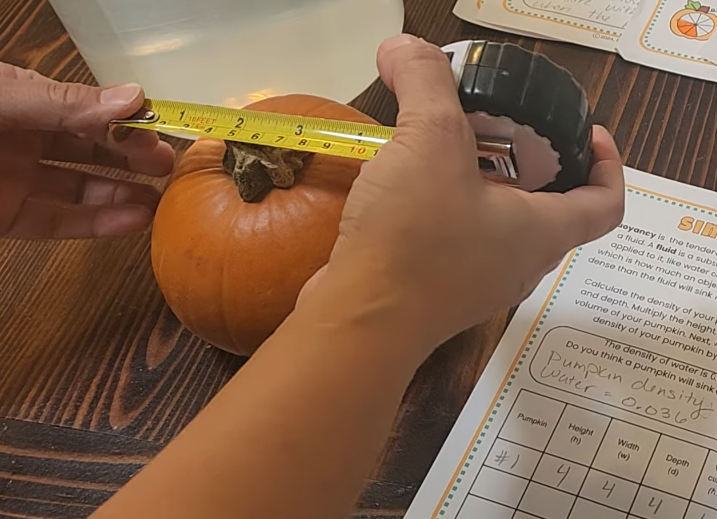
Circumference is the distance around a circle. Students can explore this idea by wrapping a flexible measuring tape around the middle of a pumpkin. String and a ruler work, too.
For students learning about circles, measure the diameter across that same section of the pumpkin and estimate its circumference using C = πd, or C = 2πr. The radius is half the diameter, and π is approximately 3.14.
Then compare the calculated value with the measurement taken around the pumpkin. Are they close? What could explain a difference?
Pumpkins are not perfect circles. Their uneven shapes, the position of the tape, and measurement precision can all affect the comparison. This is a useful opportunity to discuss how mathematical models describe real objects and where those models have limitations.
Younger students can compare which pumpkin has the greatest circumference without using the formulas. Older students can calculate the difference between their estimated and measured values.
Predict whether it will sink or float
A pumpkin can feel surprisingly heavy. Does that mean it will sink in a container of water? Ask students to make a prediction before doing any further calculations. Floating depends on the pumpkin’s overall density compared with water. Density describes mass per unit of volume. The air-filled spaces inside a pumpkin contribute to its volume while adding very little mass, helping lower its overall density.
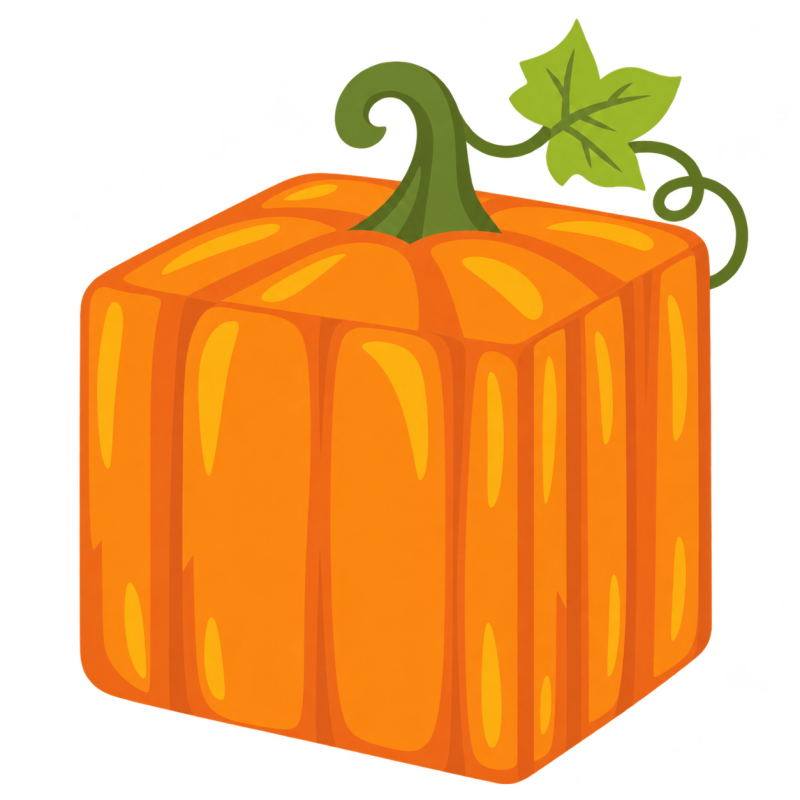
Older students can calculate the density of their pumpkin(s) and compare it the density of water to calculate if it should sink or float. Density is traditionally measured in grams per centimeter but your students can also measure in pounds per inch as long as they carry the units through the entire calculation. First measure the height, width, and depth. Multiply the height, width, and depth together (LWD) to calculate the approximate volume of your pumpkin. This is technically the volume of a cube, and we don’t have square pumpkins (except maybe in Minecraft), but I’ve found the calculation still reasonably predicts density. If your students would like to take the calculation a step further, they can use the formula for the volume of an ellipsoid instead which is V= π/6(LWD). This is still not a perfect measurement of the pumpkin’s volume but is even closer than the initial LWD formula.
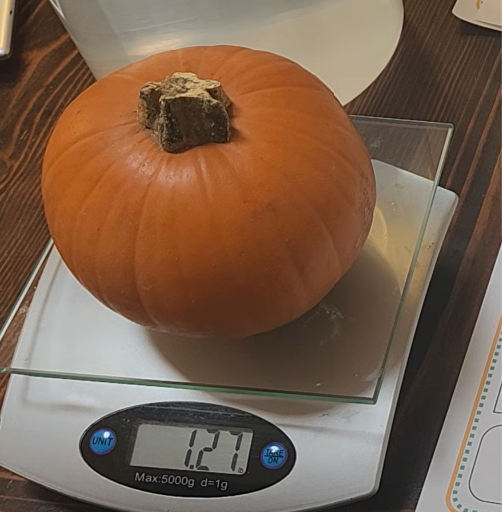
Next, weigh your pumpkin. Finally, calculate the density of your pumpkin by dividing the weight by the volume. The density of water is 1g/cm3 or 0.036 lb/in3. If the pumpkin density is less than the density of water, it should float!
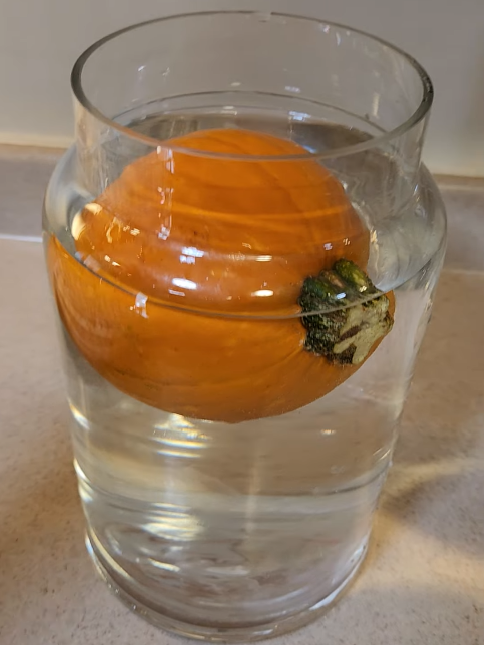
Finally, test to see if your predictions and calculations were right by gently placing an intact pumpkin in a container of water deep and wide enough for it to move freely. Many intact pumpkins float.
After testing, ask: What did we observe? Did the result support our prediction? What might be inside the pumpkin that helps explain what happened? When you later cut it open for the seed activity, return to these questions. Students can connect their observations of the inside to the earlier floating test. Test the whole pumpkin before cutting it. Opening the pumpkin changes the conditions and can allow water into the cavity.
Estimate, count, and compare seeds
Before opening each pumpkin, have students estimate its seed count. If you have several pumpkins, ask whether they expect the largest or heaviest one to contain the most seeds.
After an adult cuts the pumpkins open, separate the seeds from the pulp and count them. Groups the seeds in piles of ten to make a large collection easier to organize. In a classroom, different groups can count separate portions and combine their totals. I absolutely recommend using plastic tablecloths from dollar tree to protect your desks. I have even laid them on the floor like a large water-resistant rug where the groups can more easily crowd around the pumpkin. Parchment paper is also good for protecting desks so students can count the seeds and toss the mess.
Compare each estimate with the actual count. Was it too high or too low? How far away was it? If you tested several pumpkins, find the mean seed count by adding all the seed counts and dividing by the number of pumpkins.
Does a larger pumpkin always have more seeds?. Pumpkin varieties can differ in both fruit size and seed count, and successful pollination also affects how many seeds form. Size alone does not guarantee a particular number of seeds.
An optional extension is to graph pumpkin mass against seed count. Comparing several pumpkins of the same variety helps make the comparison more informative. With only a few pumpkins, describe the pattern in your sample and what additional data you would need before making a broader claim.

Make it work for your classroom or homeschool
You can spread these activities over several days or organize them into stations. Start with observations and measurements, then test floating while the pumpkins are still intact. Save cutting and seed counting for the end so students can connect what they find inside with their earlier predictions.
Gather one pumpkin, or several for comparisons, along with a measuring tape or string, a ruler, a scale, a large container of water, trays for seeds, and recording supplies. Set up a place for each part of the investigation and plan for cleanup. An adult should handle cutting the pumpkins. As I mentioned earlier, using a plastic tablecloth or parchment paper is incredibly helpful in reducing the mess of the seed counting activity!
In a classroom, small groups can share a pumpkin and take turns measuring, recording, and counting. Rotate jobs so everyone has a chance to participate. Groups can then share their measurements and seed counts to create a class data set. At home, one pumpkin is enough to explore circumference, floating, and seed estimates; additional pumpkins allow students to compare their results.
Choose the math that fits your learners. Younger students can compare sizes, make predictions, and organize seeds into groups for counting. Older students can calculate circumference, estimate volume and density, or find an average seed count. Ask students to explain what each calculation tells them about the pumpkin they are investigating.

Give students a way to record their thinking before and after each activity. They might draw their observations, fill in a data table, or write a short explanation. When sharing a conclusion, encourage them to point to a specific measurement or observation that supports it. For example, a student comparing seed counts should use the actual totals as evidence. My Pumpkin Lab activity has several data recording options included if you prefer a print and go option.

If a result differs from a prediction, pause and examine it together. Was the measuring tape in the same position? Were the units consistent? Were any seeds missed during counting? Help students consider both their original explanation and how they collected their data.
Finish with a short reflection: What did you find out? What evidence supports your explanation? What would you investigate next? Students might want to compare different pumpkin varieties or collect measurements from more pumpkins. Have them describe what they would measure and what they would keep consistent in that next investigation.
Pumpkins give students something familiar to examine in a new way. A measurement can lead to a question about shape, and a pile of seeds can become evidence for testing an idea. As you explore together, give students time to explain what they notice and follow the questions that emerge. You may finish the activity with more questions than you started with, and those questions can guide your next investigation.